Defining a VMware Connection
Create a connection to the virtual infrastructure for each target server (VirtualCenter or ESX host) before TA can run your VMware jobs.
Adding a VMware Adapter Connection
To add a connection:
-
Navigate to Administration > Connections from the Navigation pane to display the Connections pane.
-
Right-click Connections and choose Add Connection > VMware Adapter from the context menu. The VMware Adapter Connection Definition dialog appears.
-
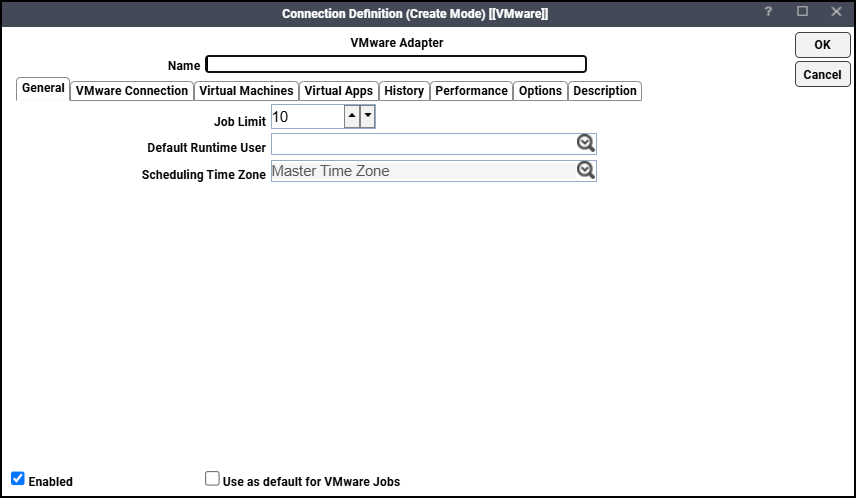
Enter a name for the new connection in the Name field.
-
Click the Job Limit field and choose the maximum number of concurrent active processes that TA should submit to the VMware VirtualCenter or ESX host at one time.
-
Click Default Runtime User and specifies a default runtime user for the agent being installed. The runtime user is used for HTTPS authentication and VMware uses this to authorize scheduled operations.
Note: Only authorized users that have been defined with VMware passwords display in this list. The selected user is automatically supplied as the runtime user in TA VMware job definitions.
-
Click the VMware Connection tab.
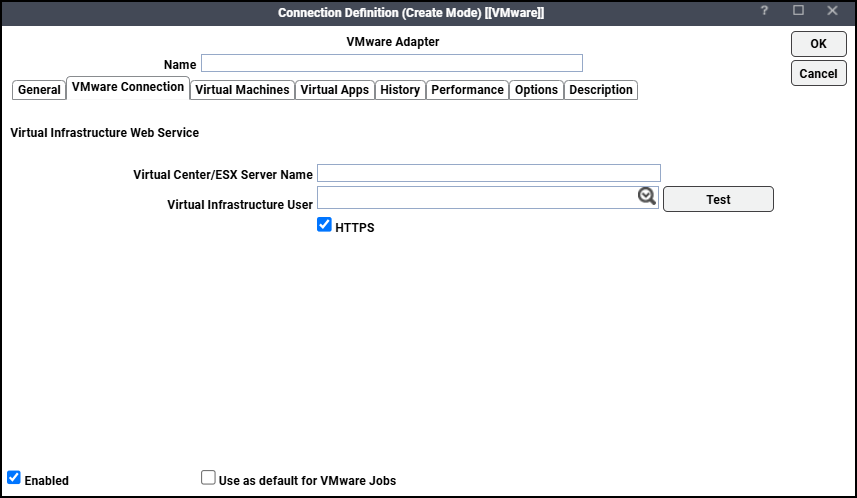
The VMware Connection tab contains these elements:
-
Virtual Center/ESX Server Name – Enter the name of the ESX server or VirtualCenter server.
-
Virtual Infrastructure User – Select a user who is authorized to connect and monitor host and guest properties.
-
HTTPS – Select this option if the virtual infrastructure has been configured for SSL.
-
Test – Click this button to test the VMware connection.
-
-
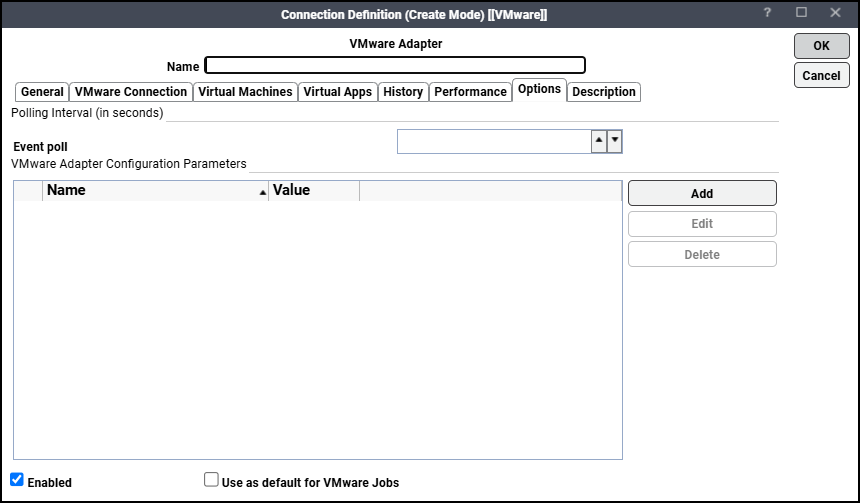
Click the Options tab to configure parameters for this connection.
-
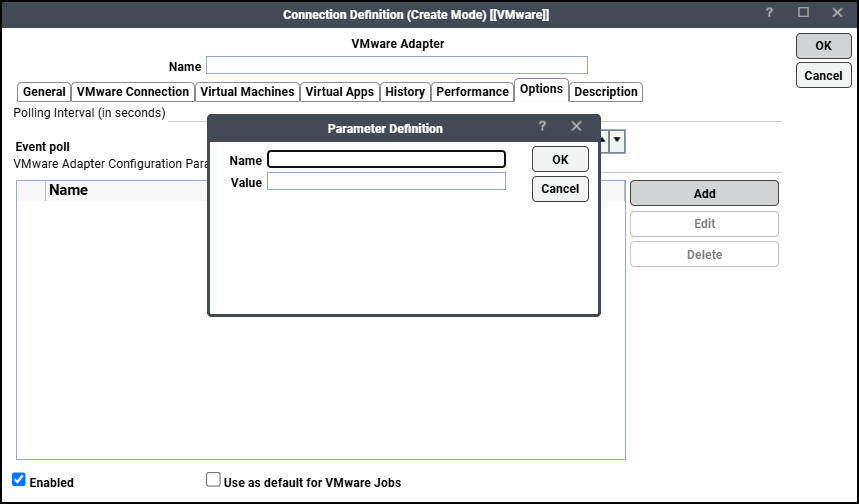
Click Add or choose a parameter in the Configuration Parameters section, then click Edit to display the Parameter dialog.
-
Enter a name for the variable or edit the existing name.
-
Enter a new value into the Value field or edit the existing value, then click OK.
-
Repeat all of the previous steps for each target server.
The example of the parameters:
-
EventHistorySize – Sets the number of rows to be displayed in the Event History page.
Example: EventHistorySize=50
-
TaskHistorySize – Sets the number of rows to be displayed in the History page for a task.
Example: TaskHistorySize=50
-
InventorySyncInterval – This parameter sets interval between consecutive inventory synchronization operations. This interval is set in minutes. By default the inventory sync interval is set to 10 minutes.
Example: InventorySyncInterval=15.
-
InventorySync – This parameter decides whether to synchronize the inventory repeatedly. If set to ON VMware Adapter Connection will synchronize inventory. To turn off the inventory synchronization set this parameter to OFF. By default the inventory synchronization is truened on.
Example: InventorySync=ON
Note: These parameters can also be set in <install dir>\master\services\{49ED3946-6C3C-4165-A09EB2A723051BDD}\config\service.props. If set in service.props, the parameters are applicable to all the VMware Adapter Connections. Properties set in this file can be overridden for a particular VMware connection by resetting them in the Connections Definition, Options page described above.
-
-
Click OK to save the connection.
The configured connection appears in the Connections pane.
The status light next to the connection indicates whether the TA Master is connected to the VMware instance. If the light is green, the VMware instance is connected.
A red light indicates that the master cannot connect to the VMware instance. However, the jobs will not run without a connection to the VMware instance. You can define jobs from the Web client regardless of the connection status.
Note: If the light is red, you can test the connection to determine the problem. Right-click the connection and click Test from the shortcut menu. A message appears on the Test VMware Connection dialog describing the problem.